Whether you are running a shared studio space, or are setting up a small home studio for your own personal use… every Potter should master this process.
We take a look at all aspects of wedging, over several articles. From basic guidance on proper technique, to what surfaces are ideal (and where to find the best clay wedging boards and tables)… we’ve got you covered!
And psst! After you read all about wedging clay, jump over to this post to find my favorite super affordable table setup for your studio!
What Is Wedging Clay?
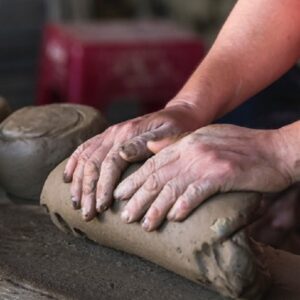
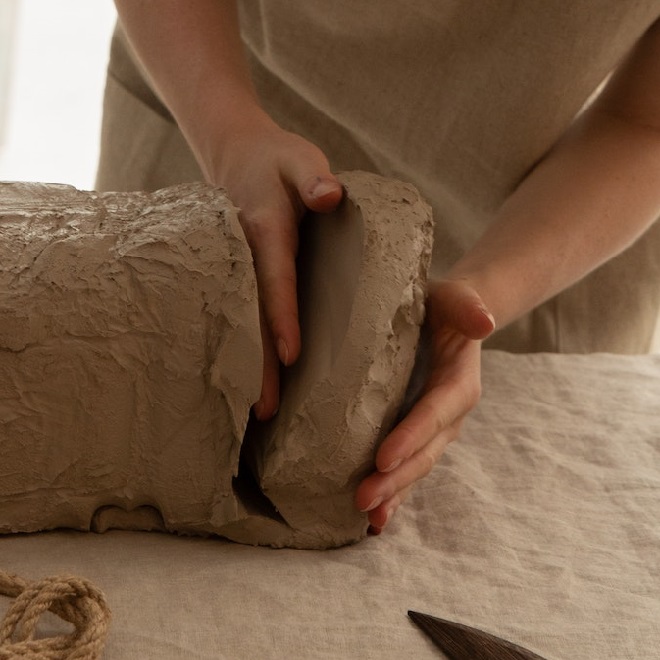
Wedging is a process used to transform clay that is not ideal for working (either because it’s either too dry, too wet, or is inconsistent and lumpy) into a homogeneous ready-to-use consistency once again. Wedging is an essential technique for a potter to master, and will help ensure smooth and successful form building (whether in slab work or wheel throwing).
What Is The Purpose Of Wedging Clay?
Wedging may seem like a simple enough task in the pottery studio. But any potter who has used recycled clay will know that it’s important not to overlook proper wedging technique to avoid air bubbles and other potential problems.
The wedging process, when doe correctly will accomplish a number of things:
- It makes use of recycled clay, restoring it to usable condition
- Mixes the clay and removes excess moisture (particularly when using an ideal clay wedging board / surface)
- Removes air pockets from the clay + aligns the clay molecules
How To Properly Wedge Clay
Technique can vary, but this video provides a nice demonstration of the most common method I’ve seen used in pottery studios over the years. You might hear this technique referred to as the ‘rams head’ method. While the ideal clay wedging surface will be based on how a potter was trained, and individual preferences… this technique is broadly used.
The Ram’s Head Method (A Video)
Stack And Slam Method
This article is a great resource for those that want a wrist-friendly alternative to the Rams Head method. This stack-and-slam method is more similar to the way I was trained to wedge, back in the late 90s.
What Are The Best Clay Wedging Surfaces?
There are four main surfaces that Potters tend toward for this process: wood, canvas, stone and plaster. Which surface is best for your Pottery Studio is a matter of preference. The surface that works best for you will likely depend on the method you use, as well as the way you were training when you first learned to wedge.
Ideal Surfaces: What To Look For
The surface should be non-slippery. Smooth surfaces like stainless steel tables, for example, are far too smooth and will cause the clay to slip and slide around.
The surface should be somewhat porous. A porous surface will prevent the clay from sticking, and will help to remove excess moisture from wet and sticky clay.
The surface should be sturdy. The wedging process involves a lot of pressure, and sometimes slamming… so the surface should be sturdy and stay in place while you work.
I hope this information has been helpful as a general guide for wedging. If you’re ready to explore the various surfaces to choose from, find the most affordable clay wedging table set up, or need help selecting the best wedging board for your studio – we cover these topics in detail!

You Might Also Like:
5 Pottery Tips: My Favorite Advice For Potters (From Reddit)
When you’re just starting a pottery hobby, it’s helpful to go into it with tips from long time potters. I’ve curated the best advice and pottery tips for beginners from several online threads like Reddit. The following are my paraphrased and summarized translations of the most frequent and helpful tips for aspiring potters. Pottery Tips…
Continue Reading 5 Pottery Tips: My Favorite Advice For Potters (From Reddit)
Best Respirators For Pottery: Silica Dust Protection For The Studio
Practicing proper safety in the pottery studio is a non-negotiable. To select the best respirator for pottery, you’ll need to do your research to ensure that your mask meets NIOSH standards for silica dust. This is essential for lung safety in the studio, especially when mixing glazes and using silica, which can cause ‘Potter’s lung’.…
Continue Reading Best Respirators For Pottery: Silica Dust Protection For The Studio
The 6 Stages Of Clay – From Slip To Glazeware (With Photos)!
What are the 6 Stages of clay? In short, they are slip, plastic, leather hard, bone dry, bisqueware and glazeware. We dive into the details of each stage, including photos! This guide to the various stages of clay will help you understand each stage, what it looks like, and what you might be working on…
Continue Reading The 6 Stages Of Clay – From Slip To Glazeware (With Photos)!


